Wednesday, February 20, 2013

Glitter Wig Stand

Last week I made a trip to Hobby Lobby where I found styrofoam heads.  I was in need of someplace to display one of my costume wigs and this seemed like a solid bet as they were only $5 a piece.  While they are cheap they are also a bit creepy. I opted to spray mine with Krylon glitter blast in silver to give a fun and slightly less creepy look.   I also sealed it with Krylon crystal clear gloss to make sure the glitter didn't rub off on the wig. I must say it looks pretty cool displayed on my vanity. 


Thursday, February 14, 2013

Love Bites Shot

If you, like me, are alone this Valentine's Day this shot might be just what you need.  Not only does it contain plenty of alcohol, its rimmed with frosting and sprinkles!  I just don't know how you beat that.  Also layering the black on the red gives it a very cool look.  

Love Bites


Ingredients:
  • Eristoff wild berry vodka
  • Pomegranate schnapps
  • Frosting
  • Sprinkles

Instructions:


1) Begin by dipping the rim of the shot glass in frosting


2) then the sprinkles


3) Fill the shot glass full with the pomegranate schnapps


4) Fill a 2nd shot glass with the black vodka.   It was impossible to capture this part on film as I need both hands, but instruction can be found here.


Tuesday, February 12, 2013

Valentine's Votive Holders

I love glitter, and I'll use any excuse to use it.   My current excuse is Valentine's Day decorations.  Today I took an old votive holder and vamped it up a bit.  This process can be applied to pretty much anything. It was pretty quick and it adds a fun element to an otherwise plain surface.  It also gives you something to do while watching reruns on TV. 


Use stickers to make some sort of design on the glass.  This will be the area that is not glittered.  I spelled out LOVE with scrap booking stickers and taped the area off with painters tape. 


Cover the whole thing with Mod Podge or some other type of adhesive, just make sure it dries clear.


Cover the entire thing with glitter.   Dust of the excess glitter and remove the stickers.   Then let the whole thing dry for at least 24 hours. 


Saturday, February 2, 2013

Strawberry Dark Chocolate Hand Pies

It's February 2nd and while my Christmas tree is still up, I think it's time to shift the focus toward Valentine's Day.  In theory I really like this holiday but after spending the past four Valentine's days alone it has become more of an excuse to stuff my face with large amounts of chocolate.  Like most girls, I like my chocolate paired with strawberries. This year I came up with some fun hand held pies to indulge my cravings.

Strawberry Dark Chocolate Hand Pies


Ingredients:

  • Fresh strawberries
  • Glaze for strawberries
  • 1tsp flour
  • 1tbsp sugar
  • Dark chocolate chips
  • Pre-made pie crust


Directions:

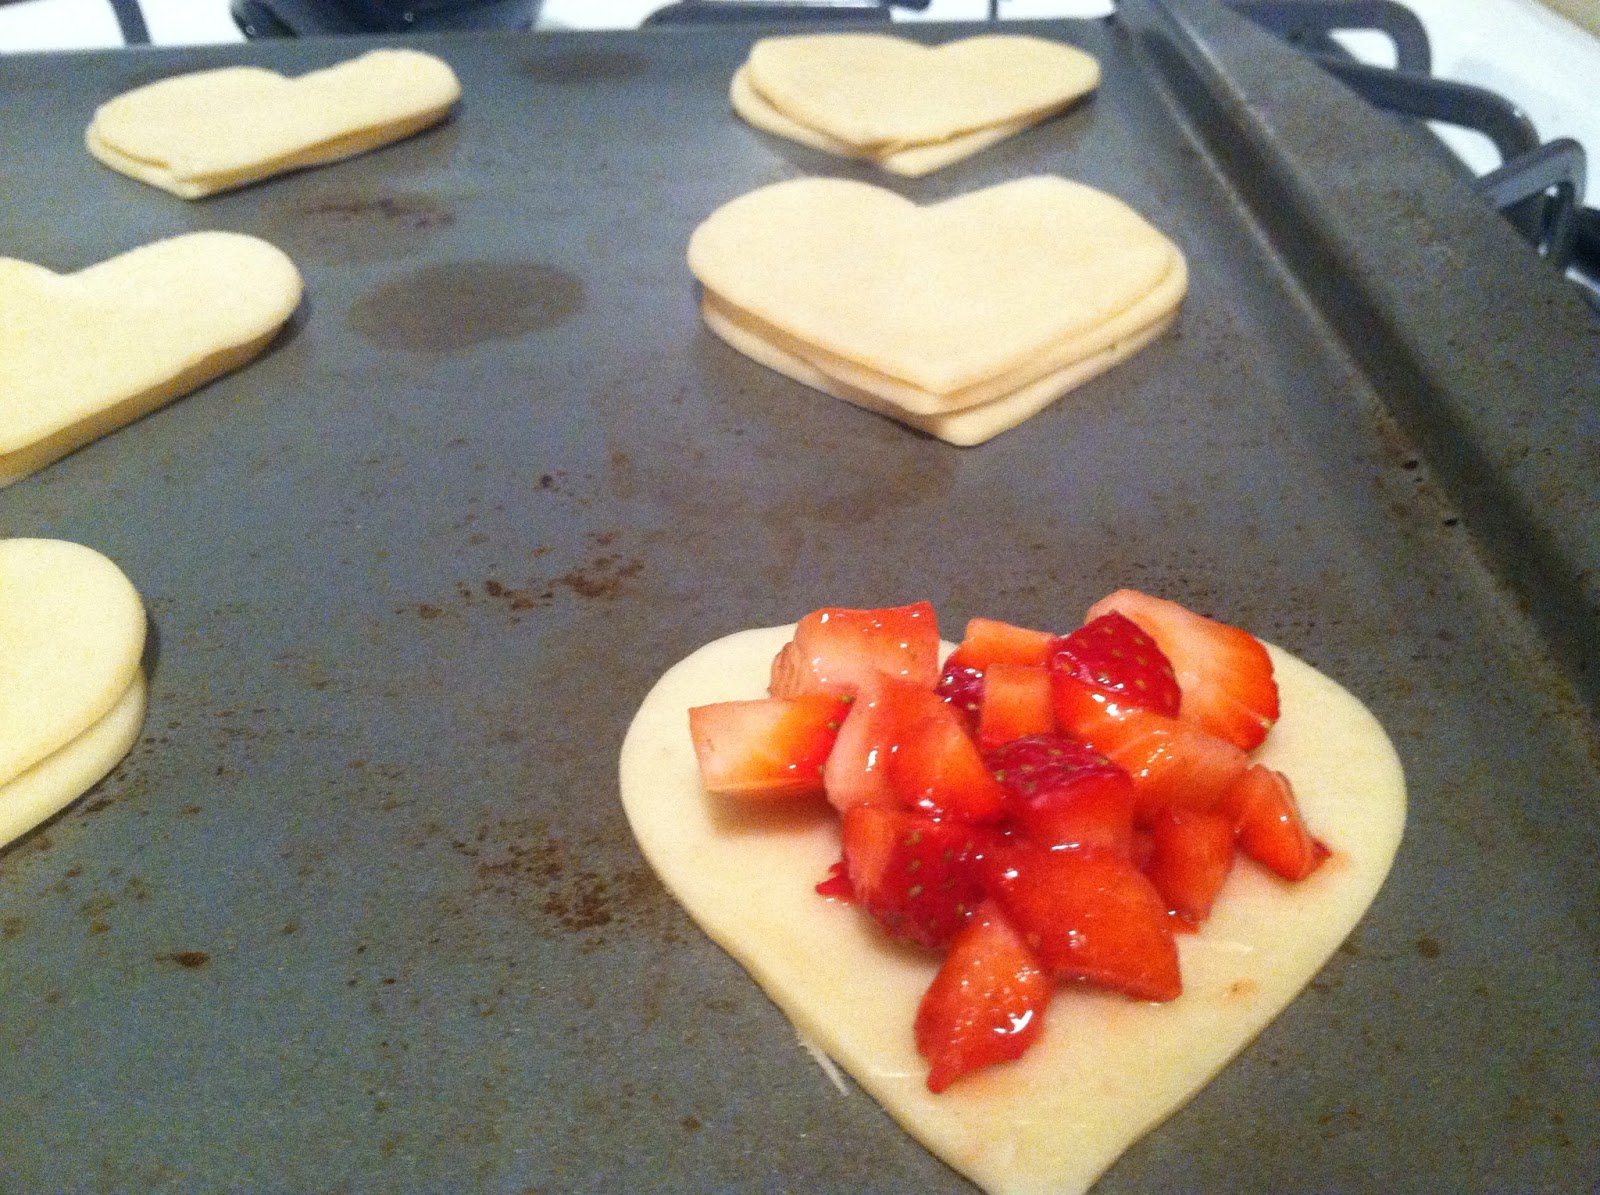
1) Pre-heat the oven to 350.  Begin by rolling out the pie crust and cutting out 16 heart shapes.  


2) Dice 6 large strawberries and place them in a bowl. Toss with the sugar, flour, and 1tbsp strawberry glaze.

3) Place a spoonful on each of the 8 hearts.


4) Top with a few dark chocolate chips.


5) Place a 2nd heart on each of the original hearts and crimp the edges closed with a fork.


6) Sprinkle sugar over the finished pies and bake for 15 minutes or until golden brown.


Tuesday, January 29, 2013

Sewing table

One of my many goals for this year is to do more sewing/ crafting.  In order to motivate myself, I went out and bought a new sewing table.  Considering the top alone weighed 61 pounds, it was quite an adventure getting it into my friends small car and up to my apartment this weekend.  Now that its all set up I'm so excited to get started on some projects.


Ta-da! Here is my sweet new set up. I have room to keep my sewing machine out as well as room to work on projects.  Since my dream job is a forensic scientist I went with the fingerprint patterned table top.   I love how it looks.  


Here is a close up of the cool pattern on my table. 


I also decided to make myself a cute little pin cushion box to go with my table.  I've already had a few requests for these, so that should keep me busy for a bit.  Perhaps I'll turn the next one I make into a tutorial. 

Monday, January 28, 2013

Queso Fundido

Once a month I have potluck with a group of my female friends.  We pick a theme, each bring a dish, and drink plenty of wine.  It's  a wonderful time I look forward to monthly.  This months theme was mexican.  There were pulled pork tacos, pomegranate guacamole, spicy quinoa salad, skinny girl margaritas, and I provided some queso fundido.  Everything was amazingly yummy.  Next month I'll be hosting a tropical themed potluck.  I'll be sure to post the pineapple bbq sliders I'll be making, but for now try this spicy queso fundido. Sadly there is no picture of the finished product as I was a bit to occupied socializing.

Queso Fundido

Ingredients:
  • 2 cups mexican blend cheese (cheddar and Monterey jack)
  • 12 oz shredded quesadilla cheese
  • 3 cloves of garlic, chopped
  • 1 jalapeno, chopped
  • 1/2 cup onion, chopped
  • 12 oz. cooked chorizo


Directions:


1) Cook the chorizo in a large skillet.


2) Chop the onion, jalapeno, and garlic.


3) Add the these to the chorizo.


4) Cook the mixture until the peppers and onions are tender.

5) Drain the mixture thoroughly.

6) Heat the oven to 400.  In a small casserole dish layer the cheese and the chorizo making sure the top layer is cheese.

7) Pop it in the oven for about 20 min or until bubbly and wonderful.


Wednesday, January 9, 2013

Super Mario Galaxy 2

I recently finished my 2nd Super Mario Galaxy game.  I found it to be quite challenging (especially the last star), but its also a whole lot of fun. Similar to Galaxy 1 you guide Mario through a series of galaxies collecting power stars need to rescue his special one, Peach.


One new addition is a portly purple luma that bears a striking resemblance to the McDonalds character Grimace. His only real purpose is to give you words of encouragement and ask you if you need a break when you reach the game over screen.  By the end of the game I was pretty tired of hearing that.


After finally getting the last star, which requires a perfect run through the last level, it was time to head to McDonald's to claim my reward...


... a juicy Bigmac.   If you haven't played the game give it a shot!