Tuesday, September 3, 2013

Swirled Picture Frame

I have a ton of picture frames from Ikea, so I'm always looking for ways to spice them up.  For this one I decided to use some basic acrylic paint and do a swirl design on the from.  Then I added some googly eyes in the corners to give it an extra Halloween touch.


Pick your colors and place random dots of paint on the frame.  Use a toothpick to swirl the dots together and cover the frame.


After the entire frame is covered be sure to let it dry for at least 24 hours so the paint is completely dry.


Add whatever embellishments you like and display.


Wednesday, August 14, 2013

Peach Banana Bread

I've been trying to eat healthier lately, and that means I've been buying a lot more fruits and veggies.  I haven't been quite as good about actually eating them.  This led to me having some fruit that was very quickly approaching its point of uselessness.  My bananas were pretty much all brown and my peaches were squishy.  I knew I could use the bananas for banana bread, but I don't really like plain banana bread.  Then I thought maybe I could toss the peaches in there too, so I did, and I must say I'm pretty pleased with the result.  It tastes like normal banana bread with a hint of peach and an awesome cinnamon sugar crust on the top.

Peach Banana Bread


Ingredients:
  • 2 cups flour
  • 1 1/2 cups sugar
  • 1 teaspoon baking soda
  • 1/2 teaspoon baking powder
  • 1/4 teaspoon cinnamon
  • 1/8 teaspoon allspice
  • 1/2 teaspoon salt
  • 2 eggs
  • 1/3 cup oil
  • 1 teaspoon vanilla
  • 1 cup mashed banana, about 2 large bananas
  • 1 cup peach, chopped into small pieces
  • 2 tablespoons cinnamon sugar
Directions:

1) Preheat oven to 350 degrees.

2) In a medium bowl combine flour, sugar, soda, powder and spices. Make well in center.


3) In small bowl, whisk eggs. Whisk in oil, vanilla and banana.


4) Pour wet ingredients over dry and stir just until moistened.


5) Fold in peaches. Do not over mix.


6) Pour batter in a 5X9 loaf pan. Sprinkle with cinnamon sugar.


 7) Bake 40-50 minutes or until toothpick comes out clean.


Tuesday, August 13, 2013

Tales of Xillia

Never in my life have I pre-ordered a video game or felt the need to buy a Collectors Edition...until the US release of Tales of Xillia.  I pre-ordered my collectors edition of the game back in May and anxiously awaited its August 6th release.  I have played through a number of the Tales series games, but this is only the 2nd one that I own.  I didn't get the package until yesterday, since I refused to pay extra to get it on release day, but it made for a very exciting Monday evening.

Here is the box it came in.  It was much bigger than I expected.


Top of the box with the very pretty logo


The front of the box has a flap that reveals the contents of the box on one side and a few pictures of the figure on the other.


The back of the box


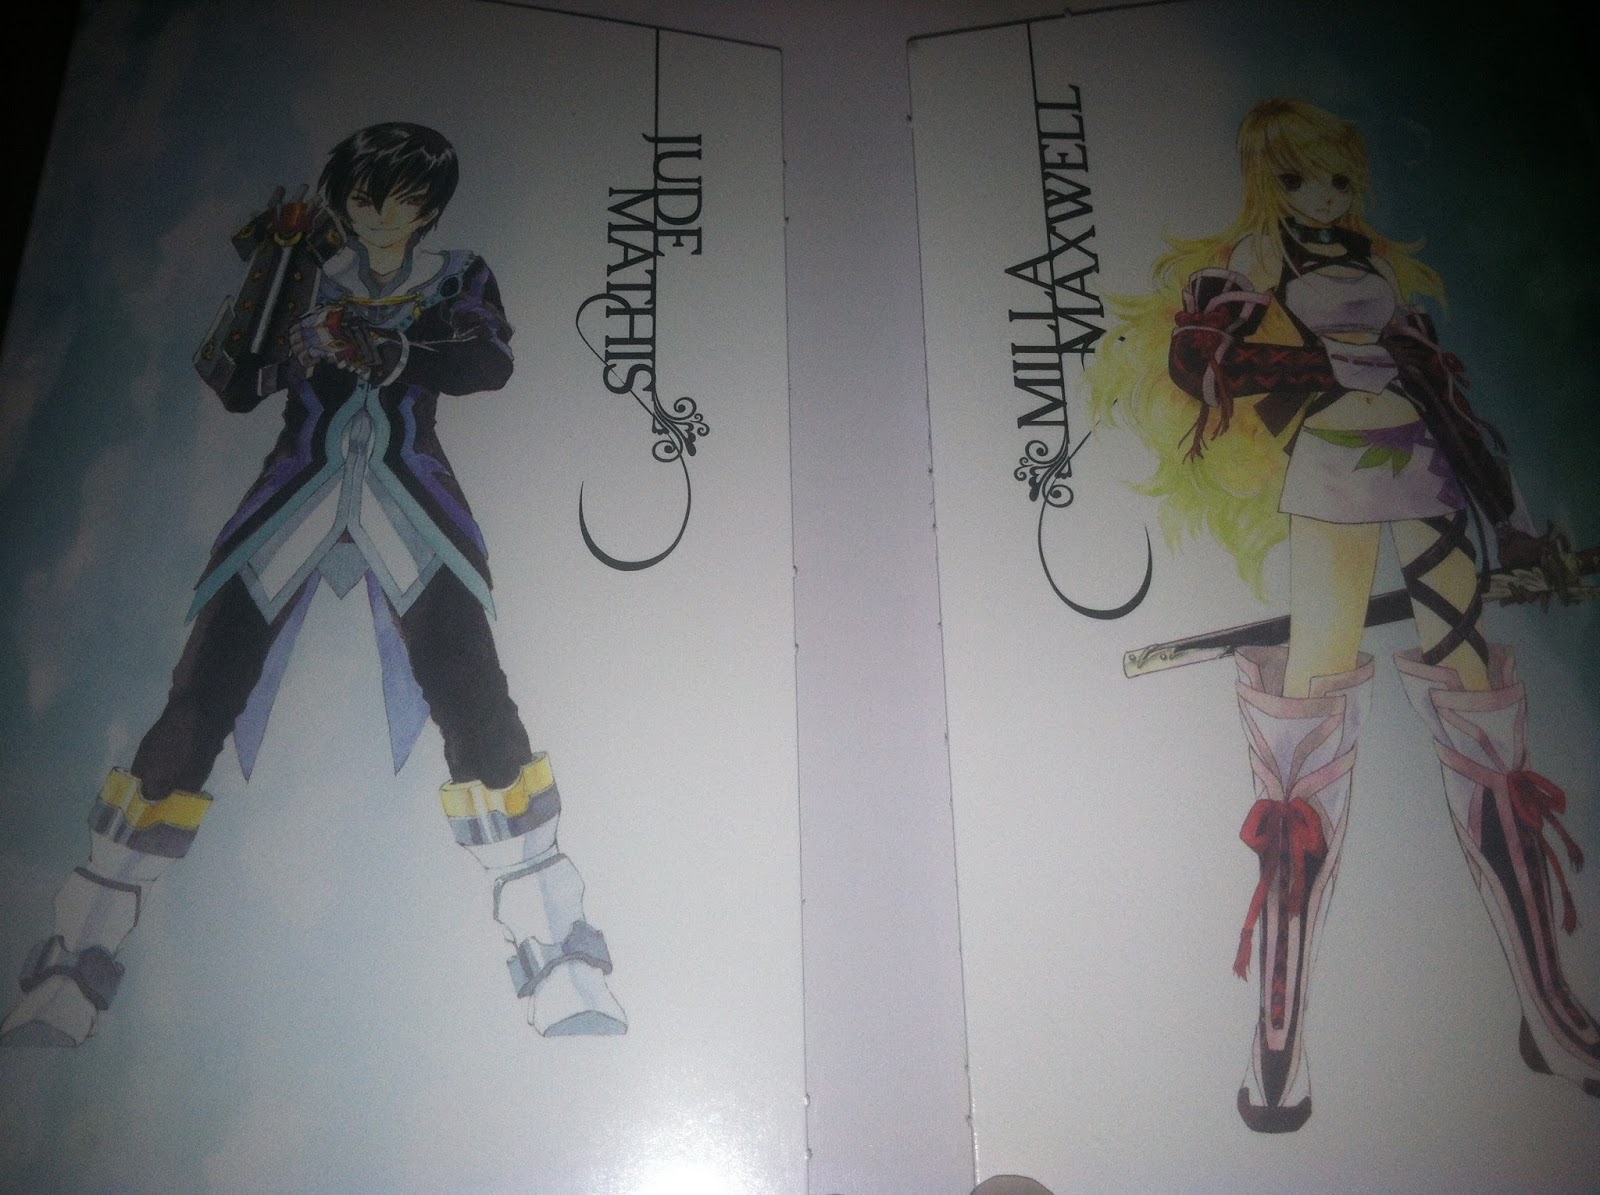
When you open the cover of the box the inner flaps show the 2 heroes of the game


Now for the good stuff, what in the box.


Obviously the game is included...BUT WAIT!! THERE'S MORE...


A CD of music from the game


It also came with a super cool art book which will certainly come in handy if I decide to cosplay anyone from the game.


And last but not least it came with this awesome figure of the female hero in the game


If you haven't checked out any of the Tales games I highly suggest it.  They have great characters, story, and music.  What more could you want?


Thursday, August 1, 2013

Turkey, Bacon, Ranch Stuffed Peppers

I have been wanting to try my hand at making stuffed peppers for a while now.  Last summer I went as far as buying the peppers but then ended up slicing them up and eating them with hummus.  This year I finally did it.  When looking at stuffed pepper recipes most of them use ground beef, tomato sauce, and rice.  This all sounded too heavy for a summer dish, so I decided to go a different route.  I stuffed my peppers full of ground turkey, bacon, tomatoes, onions, cheese, and some ranch dressing.  The results were even better than I expected.

Turkey, Bacon, Ranch Stuffed Peppers


Ingredients:
  • 1.5 pounds ground turkey
  • 6 bell peppers (you can use any color)
  • 1 pound bacon
  • sliced provolone cheese
  • 1 cup ranch dressing
  • 1/2 can diced tomatoes
  • 1/4 cup diced onion
Instructions:

1) Preheat the oven to 350. Bring a large pot of water (make sure its salted) to a boil. In the mean time. Slice the tops off the peppers and remove all the seed and membranes.  This should leave them looking like cups.  Toss the peppers into the boiling water and cook until they have softened slightly, about 5 minutes. Remove them from the water and let them cool.


2) In a large skillet, cook the bacon.  I like to use kitchen shears and cut my bacon into 1 inch sections before I cook it, but you can crumble it after as well.  When the bacon is done cooking strain it onto a paper towel and let it cool.


3) Discard the bacon grease and begin cooking your turkey in the skillet. Add salt and pepper. Cook on medium heat until the turkey is no longer pink. Drain the turkey and set aside.


4) Put the diced onions in the skillet and cook until translucent.  Add the tomatoes and cook for 1 minute.


5) Add turkey and bacon to the skillet with the onions and tomatoes.  Add the ranch dressing and cook for another 2 minutes.


6) Arrange peppers upright in a rectangular backing dish.  Place 1/4 of a slice of provolone cheese in the bottom of each pepper.  Put a heaping spoonful of the turkey mixture in the pepper and top with another 1/4 of a slice of cheese.  Fill the rest of the pepper with the turkey mixture and top with 1/2 a slice of cheese.


7) Bake for about 20 minutes or until peppers are tender and cheese is melted.


Sunday, July 14, 2013

Graham Cracker Ice Cream Sandwiches

Summer is in full swing and I have been craving some ice cream.  The only ice cream I have in my apartment is pumpkin ice cream left over from all of my Halloween activities.  Pumpkin ice cream isn't something I normally eat on its own, so I had to find something to add to it.  After lots of experimenting I found it best when it was turned into a simple ice cream sandwich.

Graham Cracker Ice Cream Sandwiches

Ingredients:
  • Ice cream
  • Graham crackers
  • garnishes 


Instructions:

1) Begin by letting the ice cream sit out long enough so that is soft enough to spread.

2) Using a spoon take a large spoonful of ice cream and spread on the graham cracker.


3) Place a 2nd graham cracker on top to form a sandwich.  You can then roll the sides in whatever garnish you would like. Sprinkles, chocolate chips, chopped nuts, etc.  I tried black sprinkles to give it a Halloween vibe but it looked pretty bad so don't try that.

4) Place the completed sandwiches in the freezer and then freeze until the ice cream is firm.


Friday, July 5, 2013

ACen/Cheria final product - Tales of Graces

Well...its been about a month two months since I went to ACen, so maybe its about time I got around to posting the pictures of my cosplay and some of the cool stuff I picked up.

ACen overall was a pretty good experience.  I bought some new things, met some awesome people and got to show off all the hard work I put into my cosplay.

If you like my cosplay please like my facebook page and follow me on twitter @forstericosplay 

Some of the goods I acquired....


acen, wig, corset

The first thing I bought was a corset.   I have never owned a corset before, but when I saw them I just couldn't resist.  The whole process is rather time consuming as they have to fit you for it to make sure the size is right and they let me try out some different styles before I made my final selections. Everyone at the booth was very helpful and I would highly recommend their corsets. They are well made and the designs are beautiful. You can check out their Facebook page here.


bat
alpaca


The next booth I stopped by was Tasty Peach Studios.  They have some of the cutest things you will ever see.  I picked up the zombie alpaca plushie as well as the adorable bat necklace.  


The last thing I bought was this little turret figure from the Portal games.  I actually have 3 of them in different patterns but this is the one that sits on my desk at work.


And now for the main event.  COSPLAY PICTURES!!!

cosplay, cheria, tales of graces

Overall I am pretty pleased with the finished product.

cheria, cosplay, pascal, tales of graces


I walked around with a friend who was cosplaying a character from the same game (Tales of Graces), and we had a lot of people stop and ask us for pictures which was a fun experience. 


cheria, asbel, cosplay, pascal, tales of graces

We also ran into someone dressed as Asbel from ToG which was really cool.


While wandering around we ran into a few other characters from the Tales games that invited us to a meet-up at Denny's.  We got to meet several other tales fans and discuss the games over dinner.  By the time we took the picture a few people have wandered off already, but here are is a pretty cool group shot.  It was nice to meet so many new people who enjoy the games. 

tales of graces, cosplay, cheria